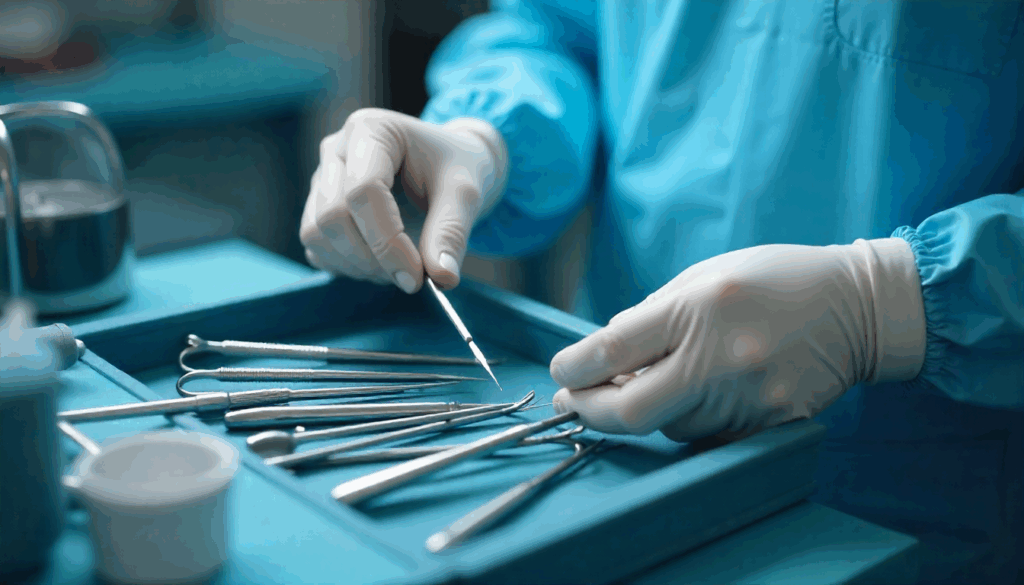
In the dental practice, patient safety is paramount. While we focus on clinical techniques and materials, the most critical procedure often happens behind the scenes: sterilization. A single lapse can compromise everything. This post reinforces the core principles of a failsafe sterilization protocol.
The Critical Steps Before the Autoclave:
Pre-Soaking:
Instruments should be immersed in a designated enzymatic solution immediately after use to prevent blood and debris from drying.
Thorough Cleaning:
Ultrasonic cleaners are the gold standard for removing microscopic contaminants from hinges, serrations, and lumens. Manual scrubbing is less reliable and increases the risk of sharps injuries.
Rinsing and Drying:
A crucial, often overlooked step. Any residual cleaning solution or moisture can interfere with the sterilization process and damage instruments.
Autoclave Best Practices:
Don’t Overload:
Overpacking the chamber prevents steam from penetrating all instrument surfaces, creating cold spots where microbes survive.
Use Chemical Indicators:
Every load should include chemical indicator strips or tape to verify that sterilizing conditions (steam, temperature, time) were met.
Routine Maintenance & Spore Testing:
Weekly biological spore testing is the only way to conclusively prove your autoclave is killing highly resistant microorganisms. Keep detailed logs for audit trails.
Sterilization is not a single action but a rigorous, validated process. It is the unseen foundation upon which patient trust and clinical excellence are built. There is no room for shortcuts. Investing in reliable instruments and adhering to an uncompromising sterilization protocol is the hallmark of a professional practice. Ensure your toolkit is complete with our range of easy-to-clean and autoclavable dental instruments.